Nail Preparation
The preparation of the natural nail is a fundamental step for any treatment, whether it be semi-permanent polish, gel, or acrylic. In this article, we will see some tips to best prepare the nail plate and cuticles for a long-lasting nail treatment.
Why is cuticle and nail preparation important?
Without proper nail preparation, your client may experience product lifting that affects the duration of the service.
The surface of the nail plate is covered with oils that our body naturally produces and with external substances, such as oils found in moisturizers, soaps, or cleansers that settle on the nail's surface layer.
Our task is to achieve a clean and smooth surface without oils where the products can adhere. Since any area that is still "shiny" (not buffed) will cause lifting with possible loss of adhesion, it is crucial that every single part of the nail is free of oils. It is also important to prevent water from penetrating the space between the nail and the product. This infiltrated water is harmful to the natural nail as it could lead to surface or deep molds or, in the worst cases, even to nail loss. It is easy to understand how fundamental it is to proceed with perfect nail preparation! Now let's see how!
Cuticle Preparation
The first step to perfectly preparing for a treatment is to clean the cuticle area with a manicure. A dry manicure is preferable to a classic wet manicure, as water could be absorbed by the nail plate, which, becoming soft, will prevent the product from adhering perfectly, causing separation and lifting between the natural nail and the product. A good dry or combo manicure with an electric file is the best solution to achieve perfect preparation of the nail plate and cuticles. Use the electric file with small diamond bits to gently lift and remove the cuticles and buff the underlying nail plate. After this step, to completely clean the area, you can trim the excess cuticles with manicure scissors.
Buffing and Filing the Natural Nail
The second step is to remove all oils from the rest of the nail plate. This must be done gently to avoid damaging the natural nail.
Use a 100-180 grit file to adjust the length and shape the tip, then file the surface of the nail from side to side without applying excessive pressure to buff and remove all the shiny parts.
Dust Removal
A preparation step often underestimated is completely removing the filing dust from the nail surface before applying the product. If not cleaned, the presence of dust can cause air bubbles and subsequent lifting.
Before proceeding, use a brush with stiff bristles to remove the dust from the entire nail plate and under the distal edge. Use a cleanser with a stiff-bristled cleanser brush and thoroughly clean from the cuticle area and sides to the tip of the nail.
Let the cleanser evaporate before the next steps.
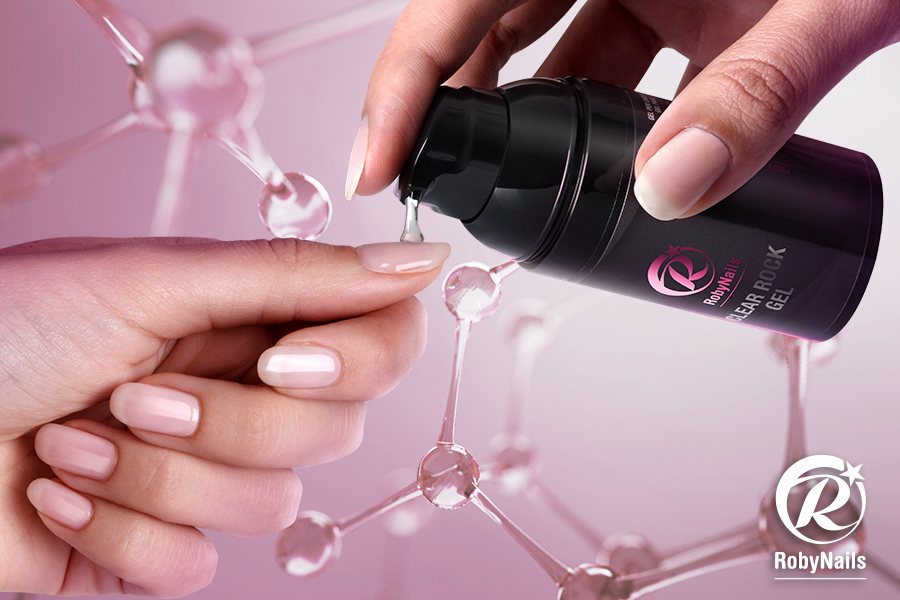
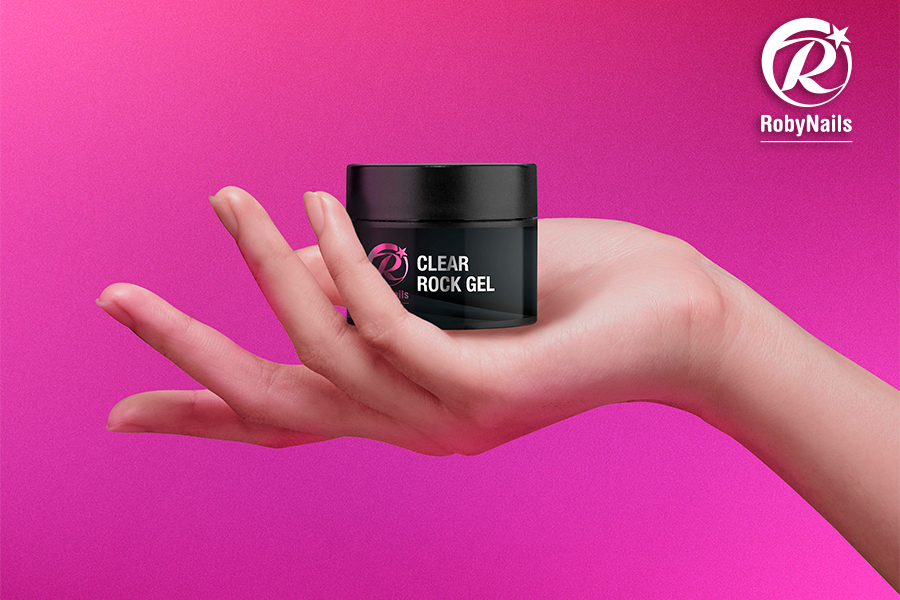
Now you are ready for the application of the primer, which we will see in a subsequent article, and the gel for nail reconstruction and semi-permanent polish.
Useful Tips
To best maintain the work done in the salon, you can give some post-treatment care tips to your client. This includes applying cuticle oil twice a day to keep the area well-hydrated. This will prevent cuticle dryness that could cause the product to lift prematurely. Avoid aggressive soaps, creams, self-tanning lotions, and essential oils. These products could stain and dull the shine; in this case, it's better to use gloves. Follow these tips, and the result is guaranteed!