Discover all newest trendy products
Choose from a selection of dedicated offers
Are you looking for tips on how to make professional nail services? You can discover everything with RobyNails nail tutorials!
Professional Training
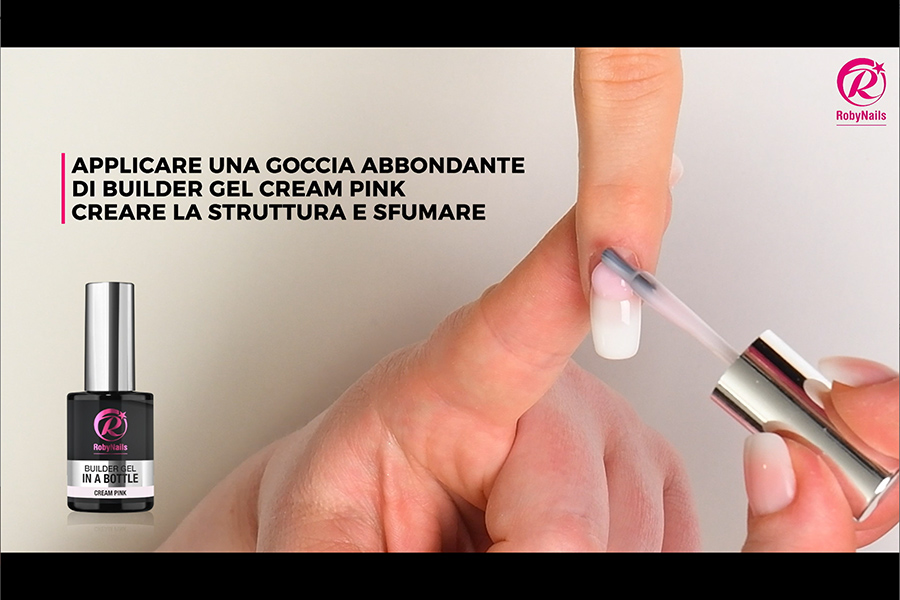
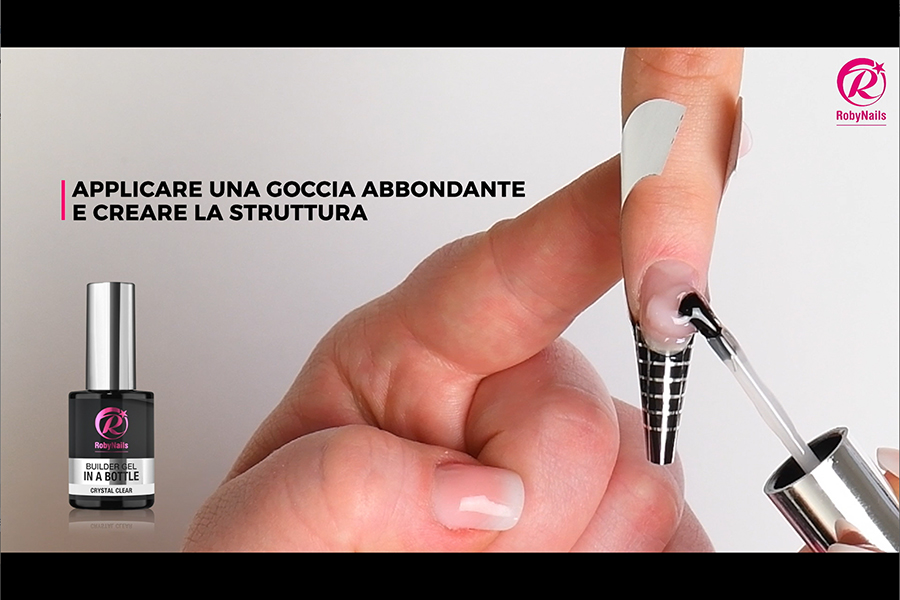
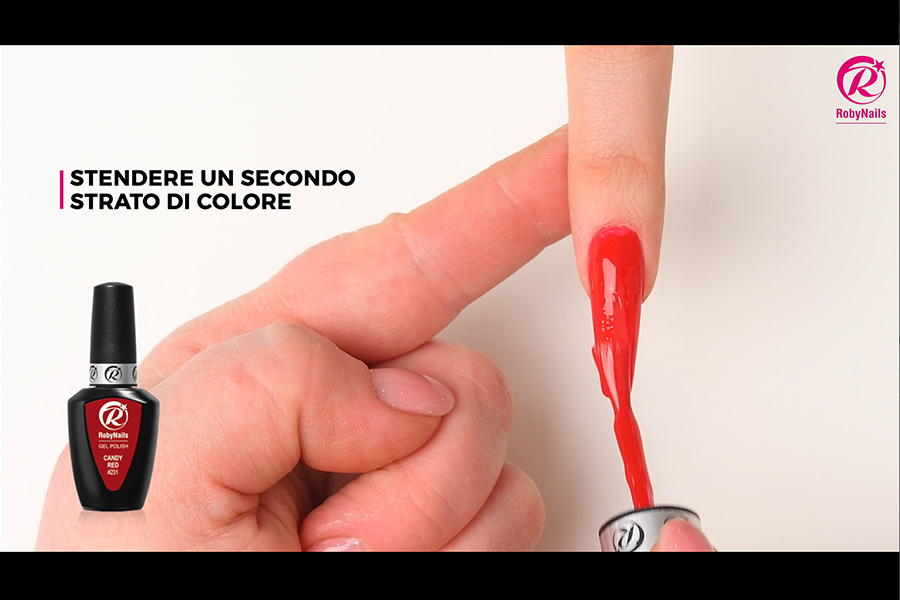
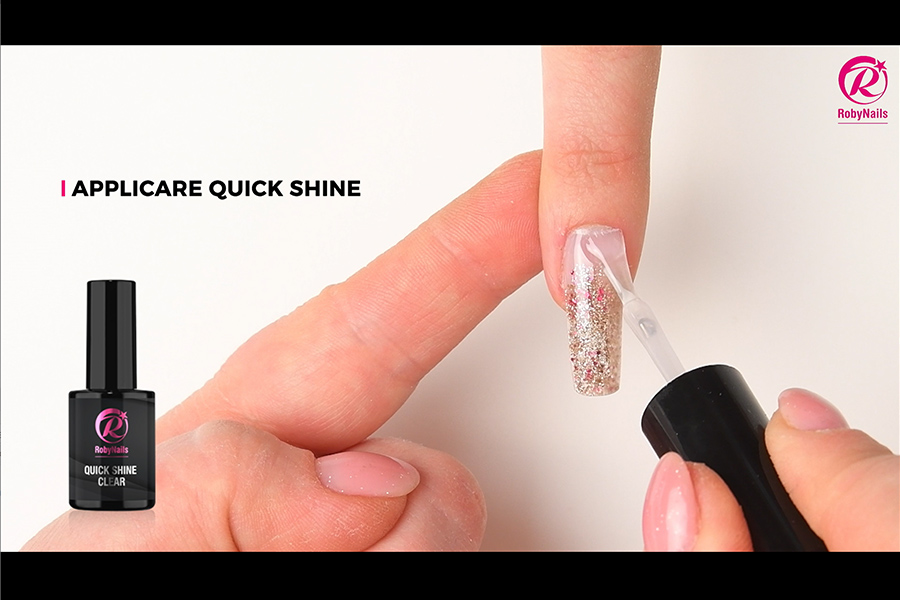
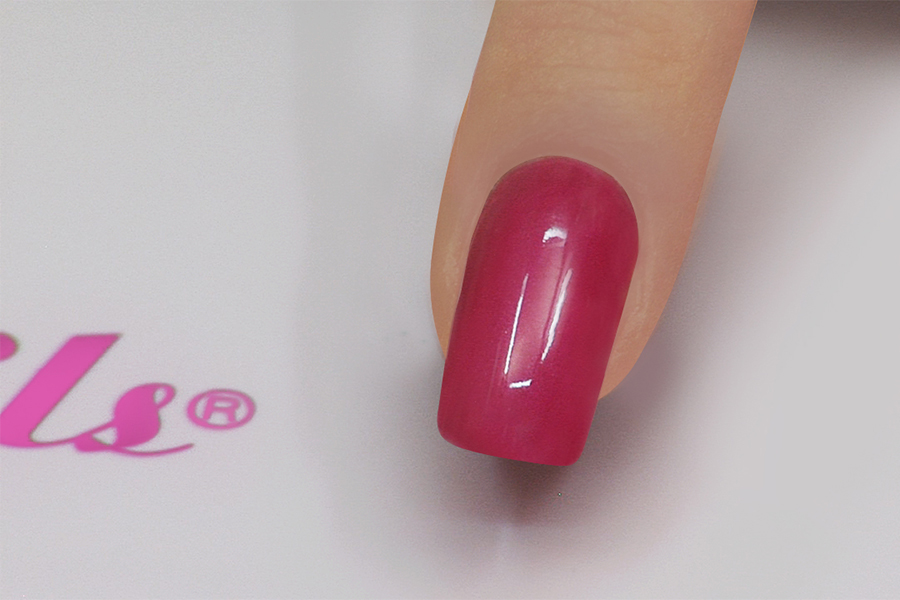
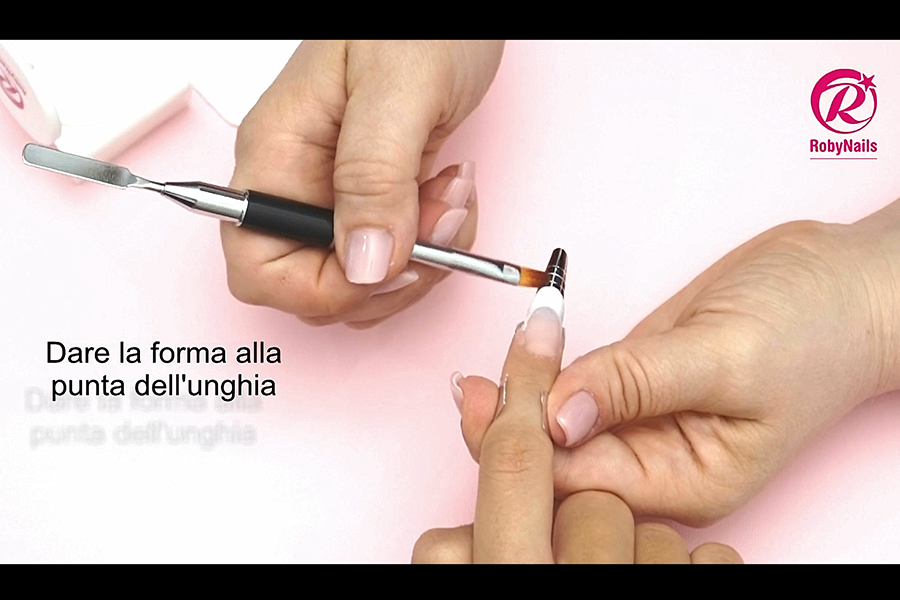
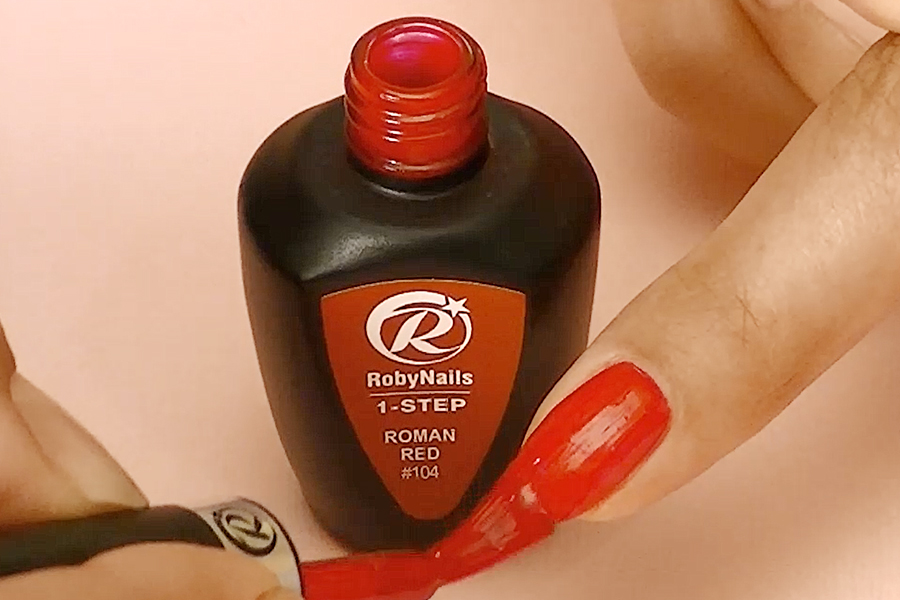
One phase builder gel over form with gel polish
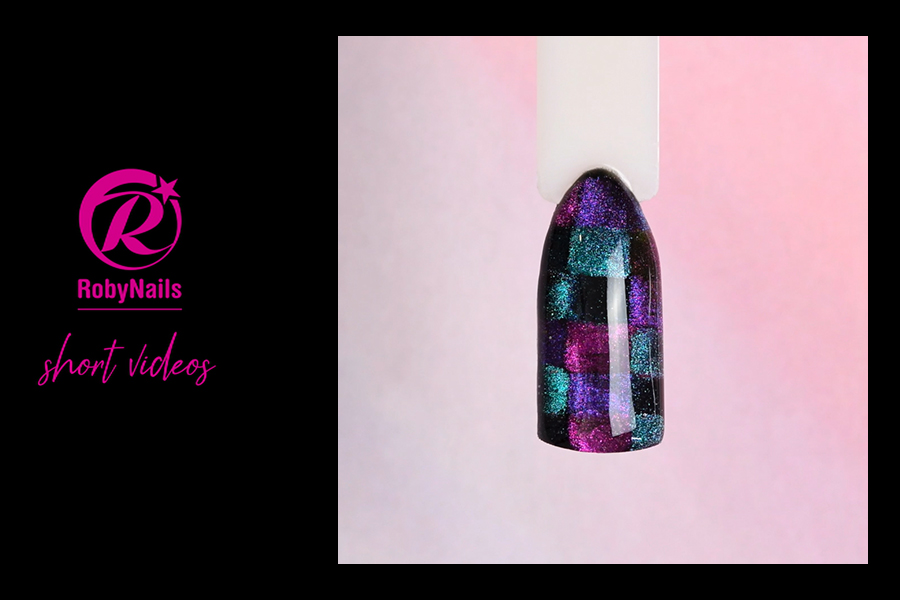
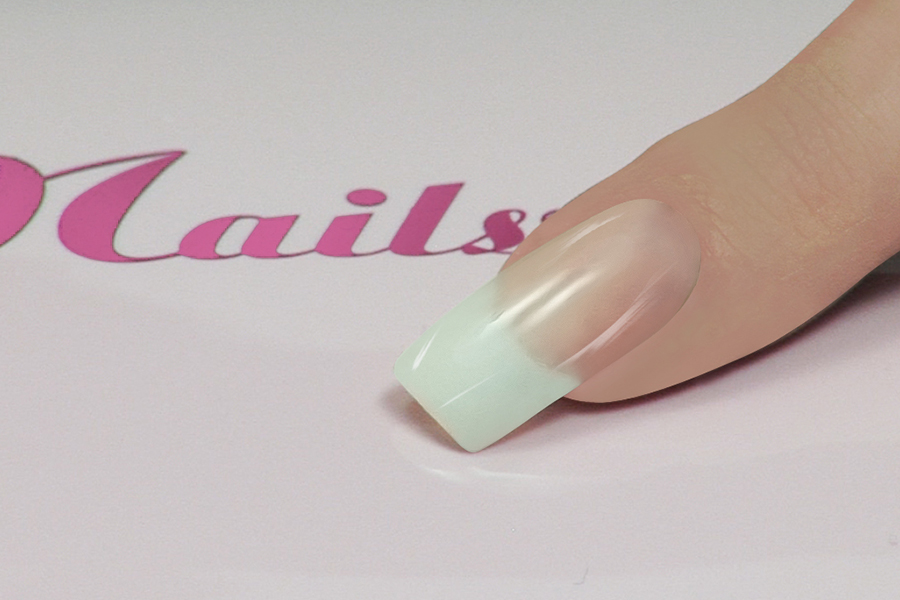
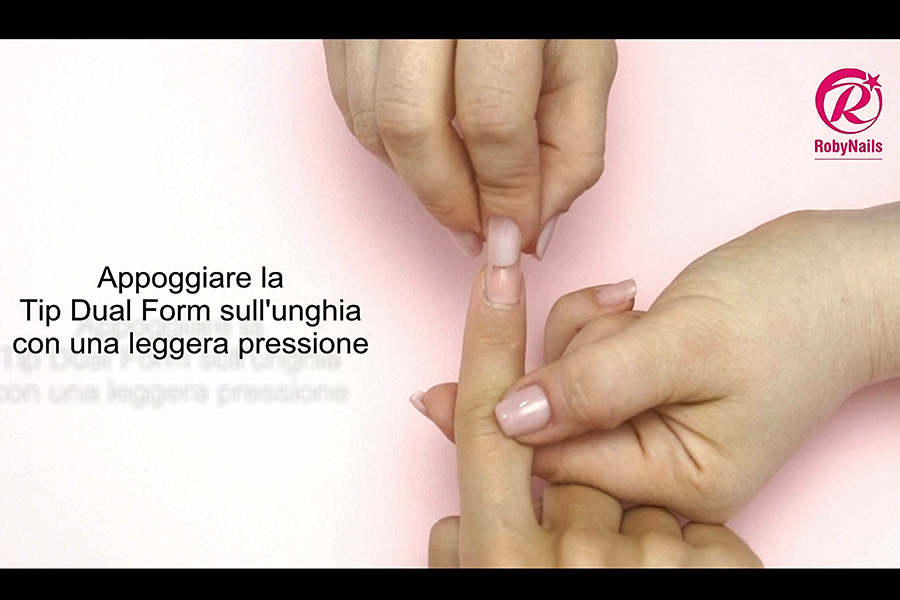
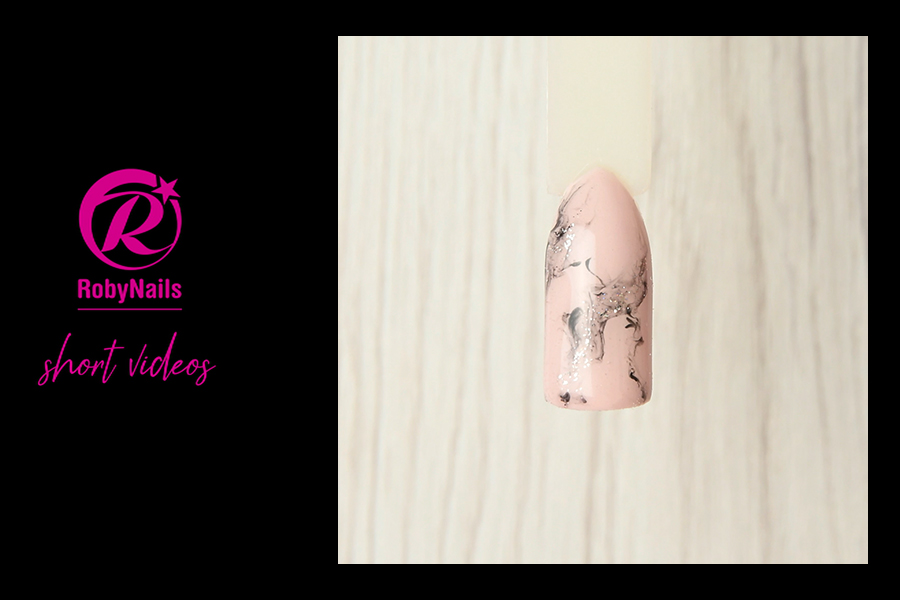
One Phase Gel and Tip Ballerina
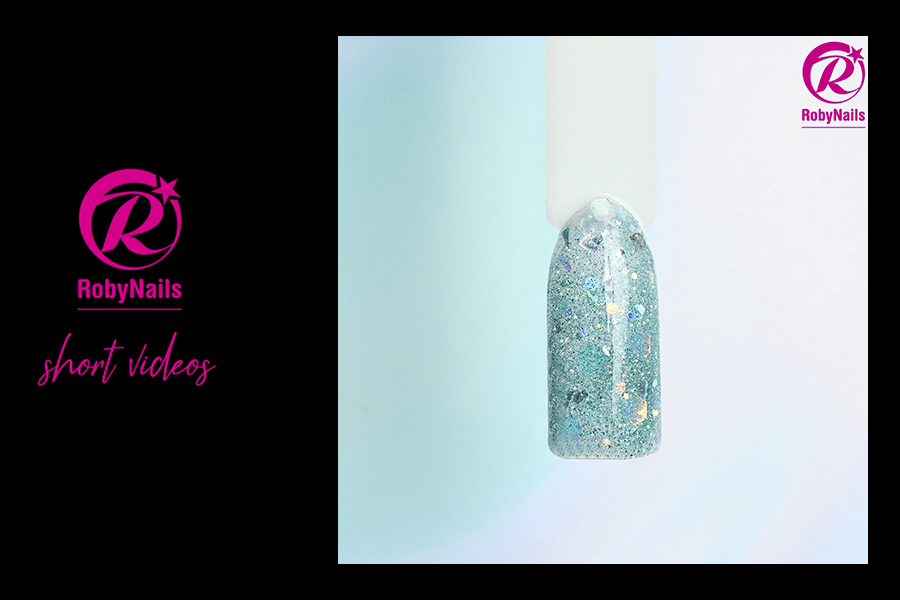
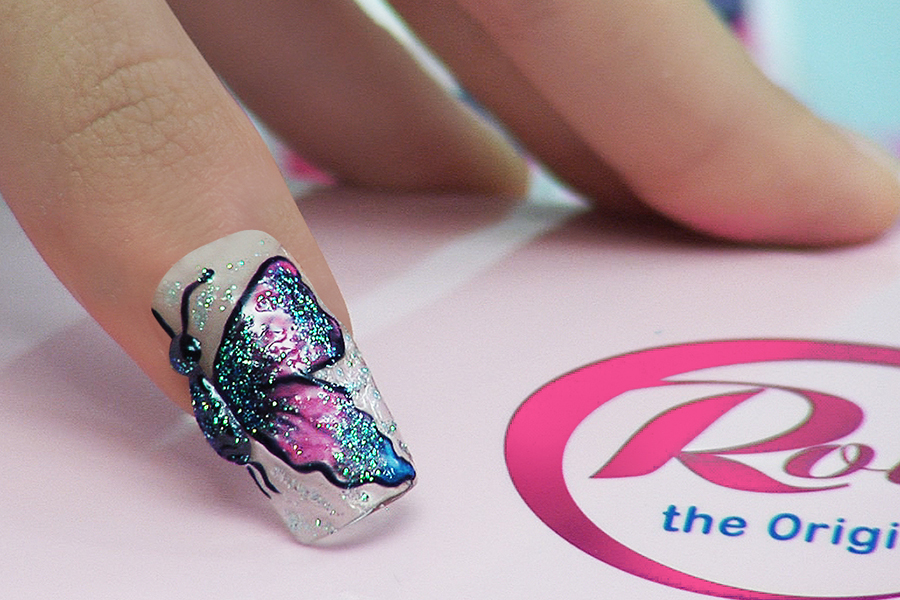
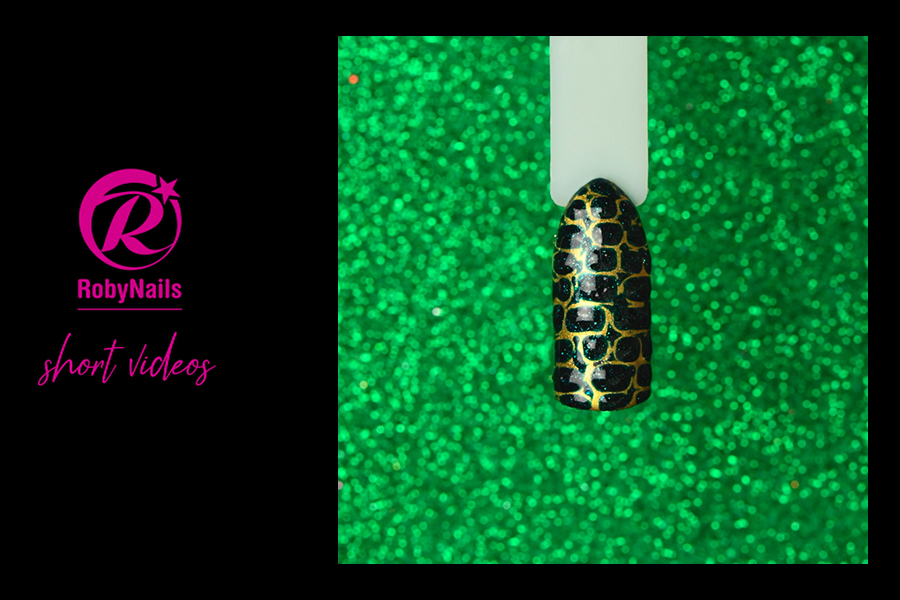
One Phase Gel, Tip Square and Glitter
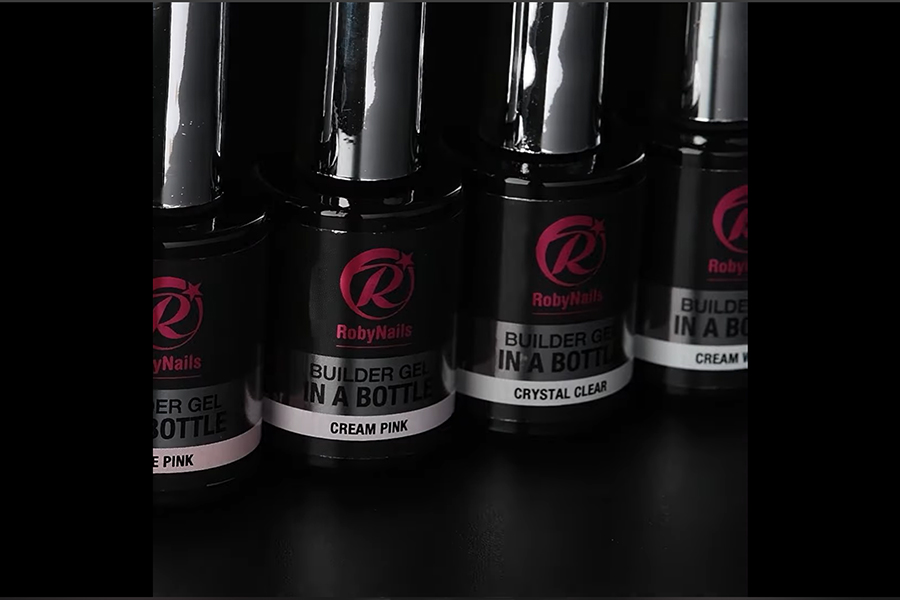
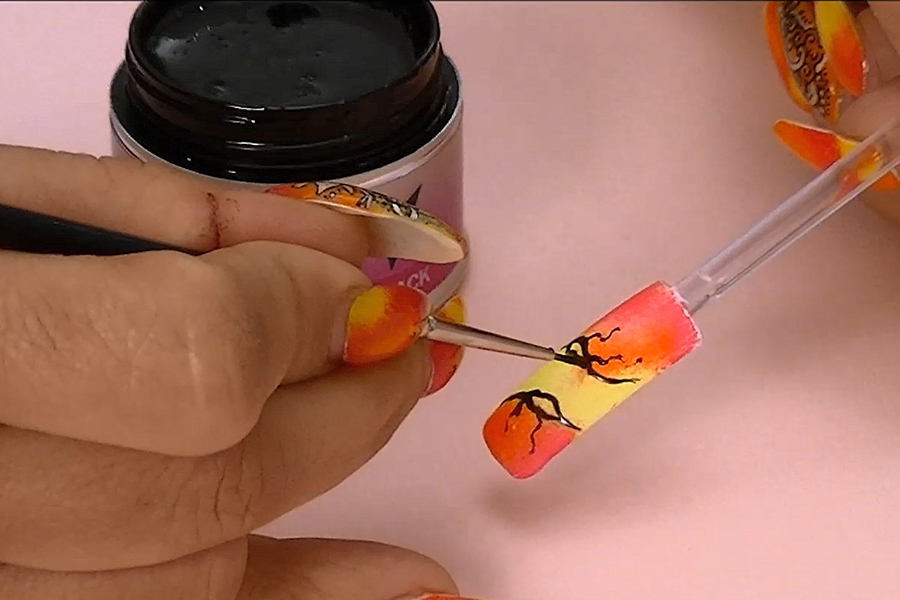
Builder gel presentation video
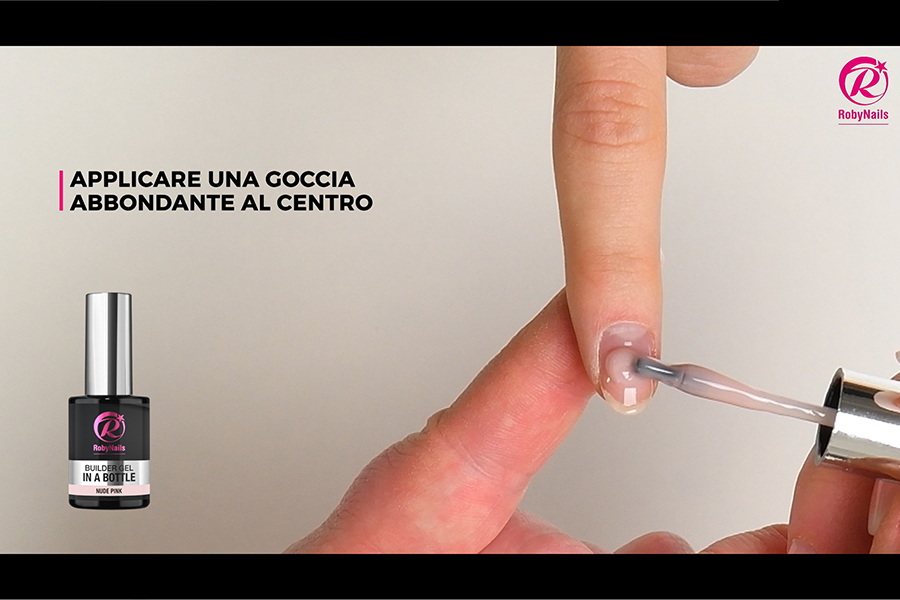
One phase gel on natural nails
Discover now